As Qualified Consulting Arborists, we’re often asked, “What is the correct way to plant a tree”? Anyone can dig a hole and shove a tree in it however the goal with tree planting should always be to give the tree the best possible chance to flourish and become a amazingly healthy and well structured specimen, and to achieve this there are a number of guidelines that you should follow.
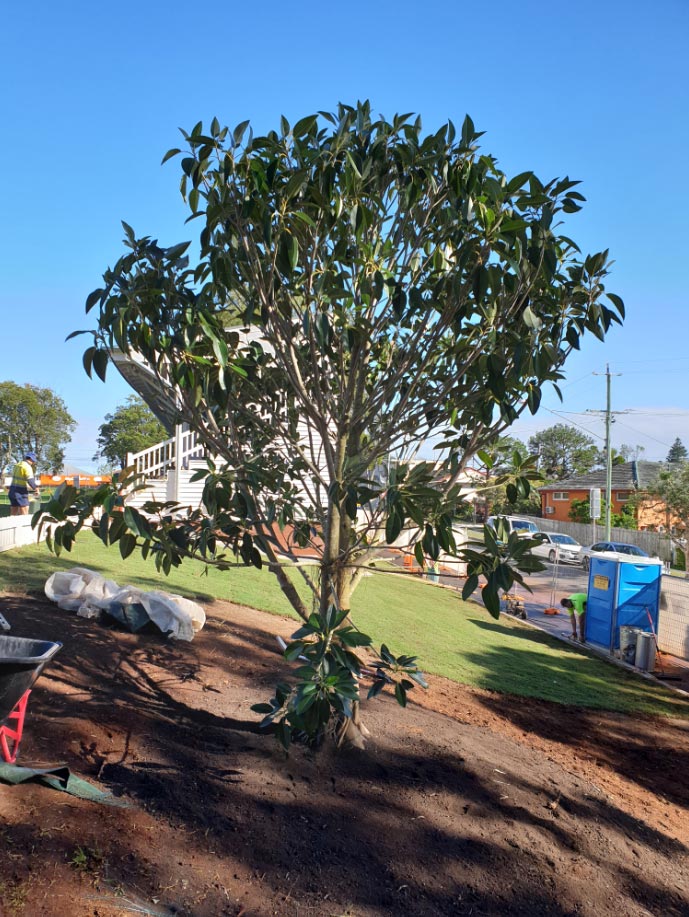
The following example was a 3000L advanced Moreton Bay Fig, however the exact same principles apply for smaller trees.
STEP ONE: PLANTING HOLE PREPARATION
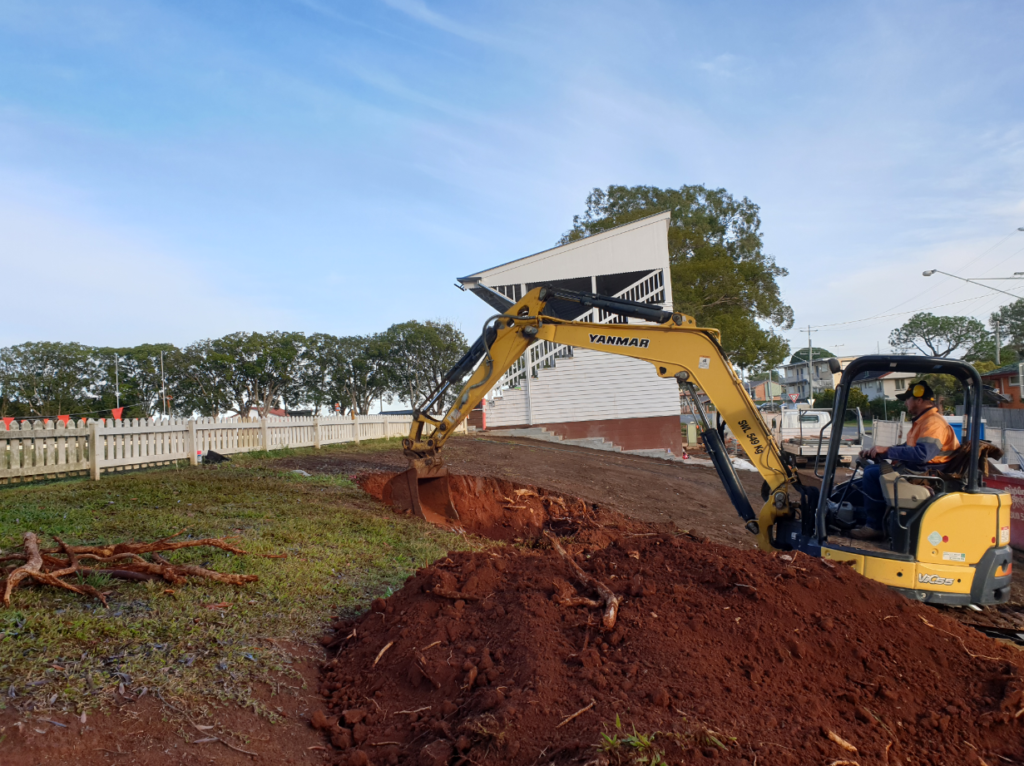
The planting hole should be dug to the same depth as the pot and 3 times the diameter. This should dug in a “wok” shape with is deepest in the centre and tapering upwards at the edges. In our case the tree bag diameter is 2m’s wide X 1.2m’s deep, so our planting hole was 6m’s diameter X 1.2m’s deep. The reason for such a large planting hole is to cultivate the soil to make root development easier for the tree.
STEP TWO: SOIL IMPROVEMENT
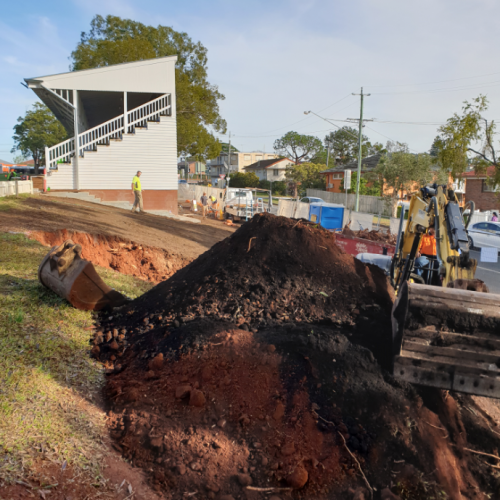
Unless you are one of the few people who are lucky enough to have a SANDY LOAM soil then soil improvement is recommended. It is recommended that a 50:50 mix of a high quality sandy loam garden soil sourced from a reputable landscaping supplier is mixed through with the existing soil. In our example our “wok” shaped planting hole displaced about 10 cubic metres, so we imported 10 cubic metres of a premium sandy loam garden soil. The excavator then spent 15 minutes mixing the natural soil with the imported soil until they were well combined. In this example the surplus soil was able to be utilised to re-profile the surrounding soil levels but in some situations some of the existing soil may need to be trucked off site.
We carried out soil testing for pH, Nitrogen, Phosphorous and Potassium and made adjustments to the soil as per recommendation rates on the soil testing kit. These kits aren’t overly expensive and the testing takes about 30 minutes to carry out so it’s well worth your time ensuring your trees has the optimum nutrients and pH.
STEP THREE: BACK FILLING THE PLANTING HOLE
The combined 50:50 soil mix then needs to be placed back in the hole in 300mm deep layers with the excavator bucket to be used to firmly pressed down the soil to achieve some compaction. Having air throughout the soil profile is critical, however too much air is problematic and will increase the chance of the tree uprooting during a strong wind event and too little air (overly compact soil) will seriously affect the growth and health of your tree. So how much compaction is ideal? If you can effortlessly drive a spade in to your soil without using your foot then you haven’t compacted it sufficiently. Conversely, if driving a steel star picket in to the soil using a large sledge hammer is requires tremendous effort then your soil is now too compacted. For small tree plantings, this compaction can be easily achieved by lightly stamping your feet into the soil in 100mm deep layers.
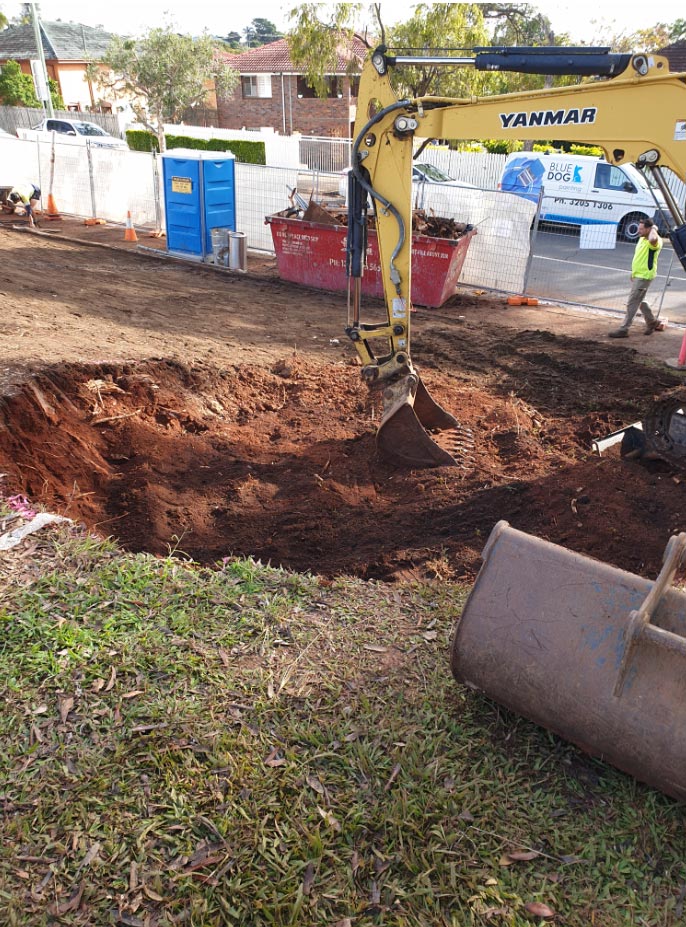
STEP FOUR: DIGGING OUT THE FINAL TREE HOLE
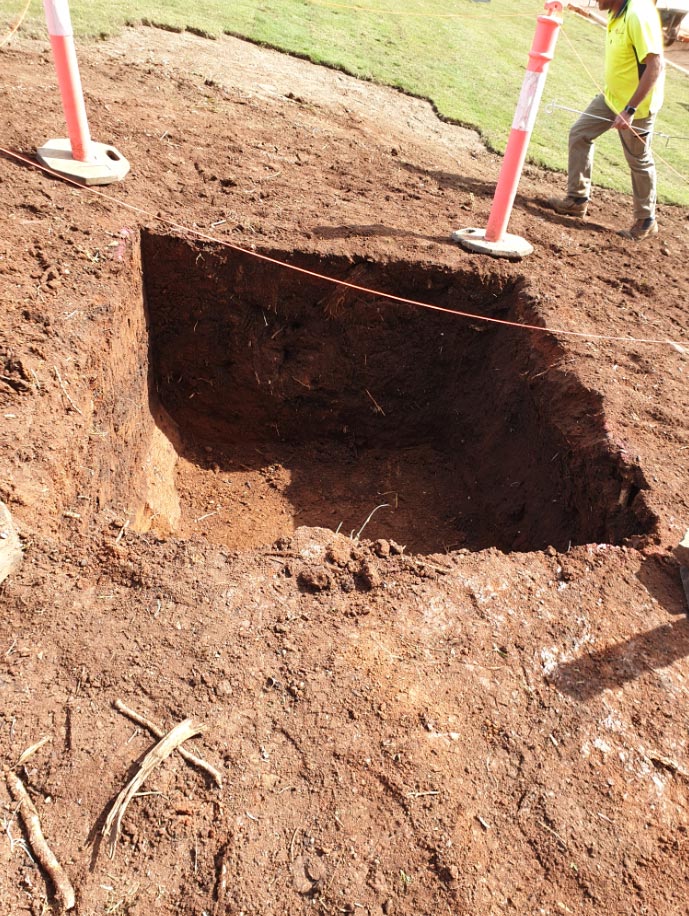
A hole then needs to be dug slightly larger (approximately 10% larger) then the tree pot / bag size.
STEP FIVE: CRANING THE TREE OFF THE TRUCK
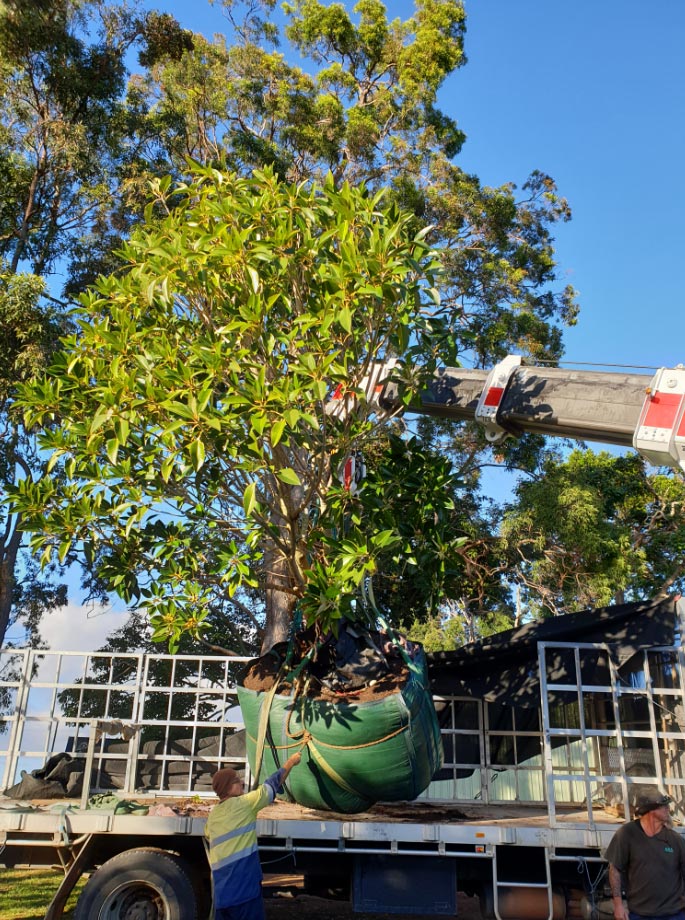
If you have the unenviable task of craning a 3000 Litre tree off a truck allow at least 30 minutes playing around with lifting sling location until the tree can be lifted evenly and without damaging any branches. The lifting slings CANNOT be placed around the trunk or branches of the tree as it’s almost guaranteed that the bark will be damaged which in severe circumstances may ring bark and therefore, kill the tree! Instead, slings need to be placed underneath the rootball.
STEP FIVE: PLANTING THE TREE
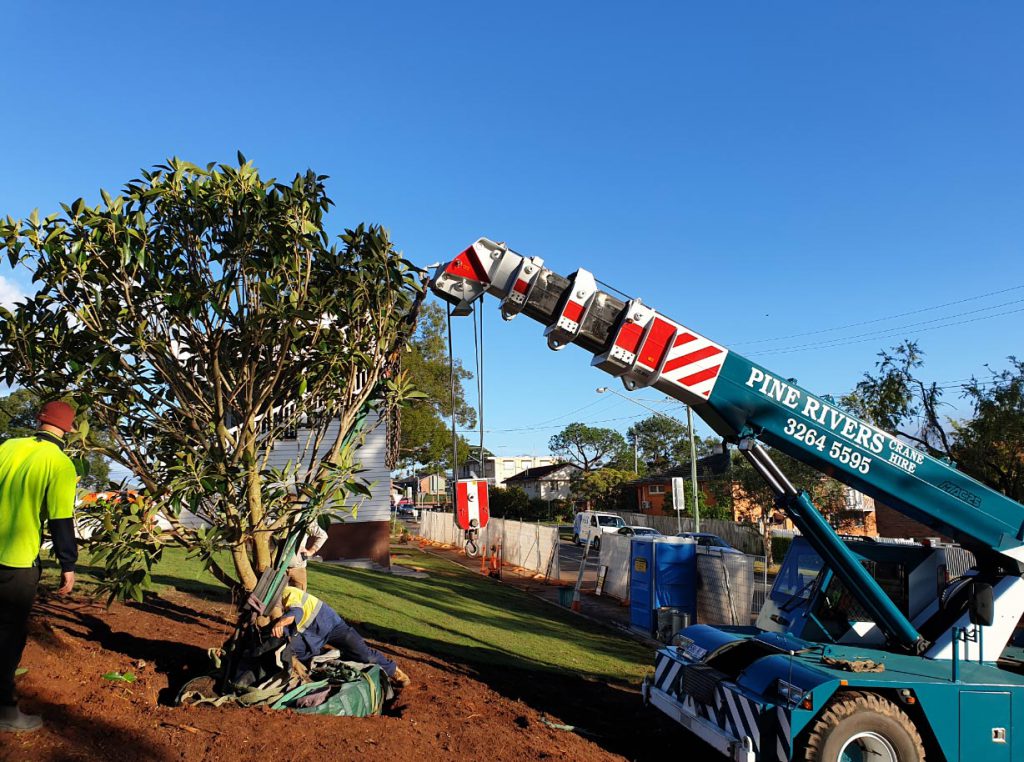
It essential that the soil contained within the pot / bag is perfectly level with the surround soil. Getting it “close enough” to level is inadequate and will negatively impact the health of the tree. If the planting hole is located on a sloping site, the centre of the tree (where the trunk is) should be level with the soil, with the HIGH side then being slightly BELOW grade and the LOW side sitting slightly ABOVE grade.
The same 50:50 soil mix should be used to back fill in around the tree in 100mm layers, compacting as you go. As per step three, getting the right amount of compaction is crucial!
STEP SIX: MULCHING AROUND THE TREE
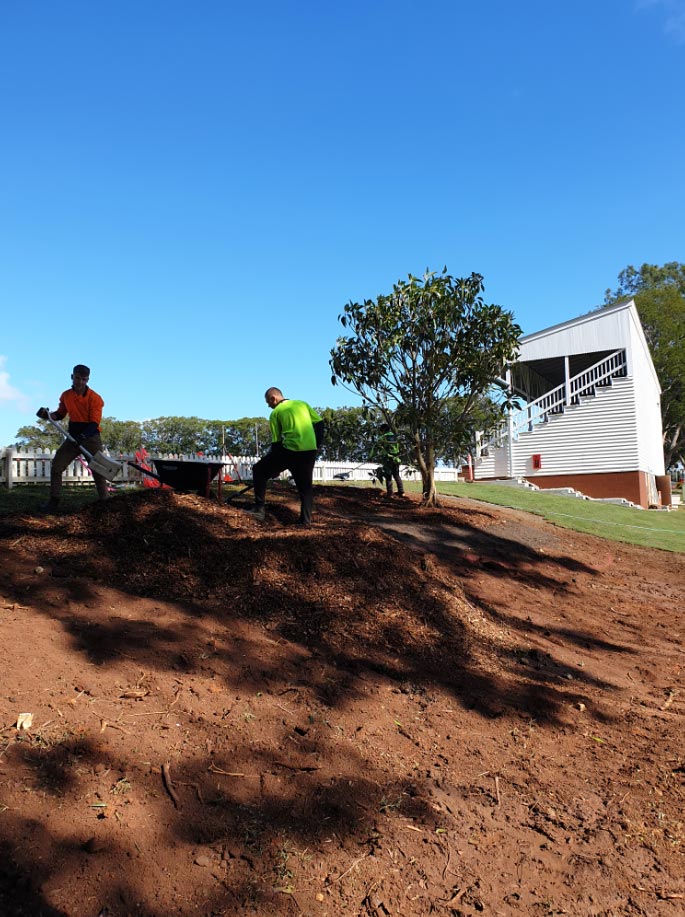
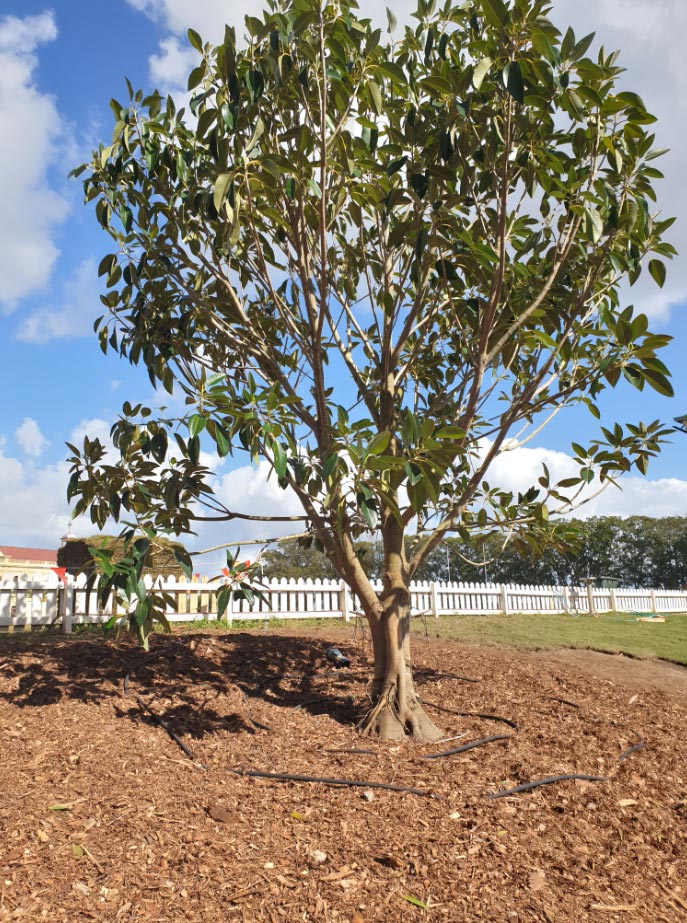
I could write an essay on the long list of benefits that mulch provide, but suffice to say it is essential for optimum tree health. As a bare minimum a quality mulch should be placed around the tree at least out to the trees dripline (the tree branch canopy outer diameter). In this example, we chose a mulch diameter of 6 metres and went with an AGED Forest Mulch which is the best mulch for soil / tree health available and also the cheapest. We went with a 200mm thick layer which is the upper limit in terms of thickness. Anywhere from 75mm – 200mm is acceptable but you must ensure that mulch isn’t resting up against the trunk.
STEP SEVEN: WATERING THE TREE
Watering the tree in thoroughly is essential! If you look closely in the above photo you will see that we coiled a weeper hose around the tree as the site is sloping and we wanted the water to SLOWLY soak deep in to the soil and if a conventional sprinkler was used it would have just run off and eroded the soil away. We gave this 3000L tree 200 Litres of water along with 150mL of liquid Seaweed emulsion which we diluted as per manufacturers specifications.
We get asked regularly, “How much water should I give my newly planted tree”? This is a tricky one to answer as it depends on the type of tree, the existing moisture level in the soil and the amount of rain and of course the drainage. If the site is poorly drained please be very careful not to over water your tree as you will probably kill the tree with kindness. The trees root system will shift from the healthy Aerobic Respiration which occurs in normal moisture levels in un-compacted soils, to the un-healthy Anaerobic Fermentation, whereby energy is much harder to be produced, resulting rot and tree death will follow. If you dig down into the soil and it smells like rotten egg or just un-pleasant, then unfortunately your soil has become sodden for a protected period of time and unless your tree is tolerant of these conditions then the tree will most likely die.
The best way of knowing when to water is to scrape back the mulch and dig down 300mm in to the surrounding soil and if you can feel moisture then you don’t need to water but if it feels dry then it’s definitely time for a deep watering. Infrequent deep waterings are far more beneficial then frequent shallow waterings. You will soon get a feel for the site and how much water is required based on the amount of rain and temperatures.
STEP EIGHT: ENJOY WATCHING YOU TREE GROW
All that’s left to do now is fertilise 2 – 3 times per year and as per manufacturers specifications and the individual tree species requirements, also be sure to keep the weeds at bay and enjoy watching you lovingly prepared tree grow and flourish.
NOTE: Tree staking is an overused practice in our opinion and often results in damage to the trees bark. We would only stake about 1 in 20 trees and only as required. Trees learn where to build strengthening wood based on moving around in the wind and if you heavily stake your tree your denying the tree the much needed education about how best to support itself. If your tree is shaped such that it’s prone to falling over, then obviously staking will be required but just be sure to regularly inspect the ties for bark damage and remove the staking as soon as the tree is self supporting.
CONTACT THE NORTH BRISBANE TREES OFFICE ON 3289 3610 TO DISCUSS YOUR NEXT TREE PLANTING PROJECT. EVEN IF YOU PLAN TO CARRY OUT THE PLANTING YOURSELF, YOU MAY BENEFIT FROM AN ONSITE CONSULTATION.
